Monthly Archives: August 2016

Chocolate Peanut Butter Shortbread

Have you ever had a brilliant idea? Like something just pops into your head, and you go, “Wow! Why didn’t I ever think of that before?” That happened to me the other day. It wasn’t of the  “end world hunger” or “create world peace” type of brilliant ideas, but I thought it was pretty good. I had the idea to make chocolate peanut butter shortbread by using my millionaire’s shortbread recipe and substituting peanut butter for the caramel.

DSC02276

Great idea, right? I thought so, too. (Although if I could figure out how to end world hunger or create world peace I’d be really happy.) The next step was finding a suitable recipe to borrow the peanut butter filling from. At first I thought I might use the filling from the buckeye brownies that I had made. But I started looking through my to do list, you know, that list of recipes you accumulate when browsing the internet that you want to make one day. You have one too, right? Well, in that list I found a better candidate. The ingredients were easier, and it had a great tip about making sure the peanut butter layer stuck to the other layers, something the buckeye brownies had a problem with. The recipe was similar to millionaire’s shortbread anyway, so I figured it would be a good fit.

DSC02277

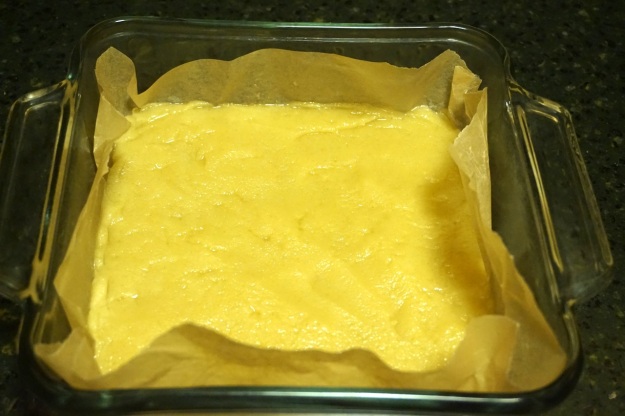
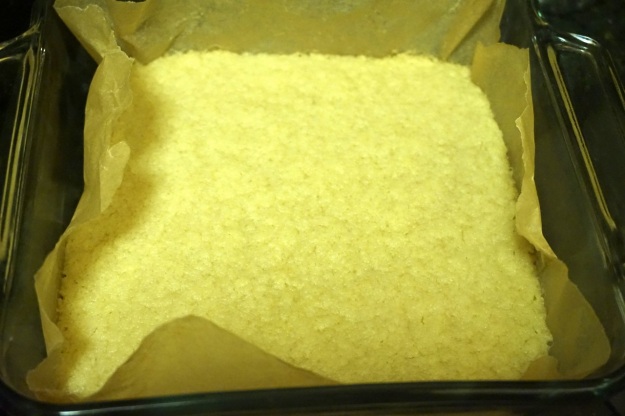
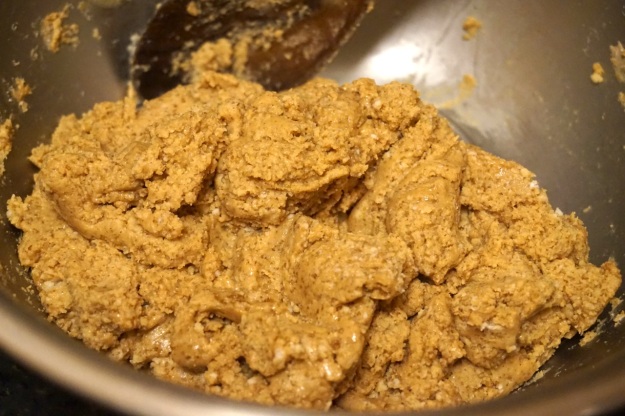
So I started off making the shortbread. I’ve done it like a million times ( 😉 ), so easy peasy. While that was baking I made the peanut butter layer. I decided not to use a mixer for it, but rather to do it the old-fashioned way and mix it by hand. (I know, roughing it.) It was pretty straightforward. To make the mixing easier, I mostly melted the butter instead of just softening it. Then I just mixed all the ingredients together and put it in the fridge to chill.

DSC02279

Back to the shortbread recipe, I needed to melt some chocolate. The recipe I use calls for 190 grams of chocolate. But the secret from the other recipe for gluing down the peanut butter layer was to use more melted chocolate.

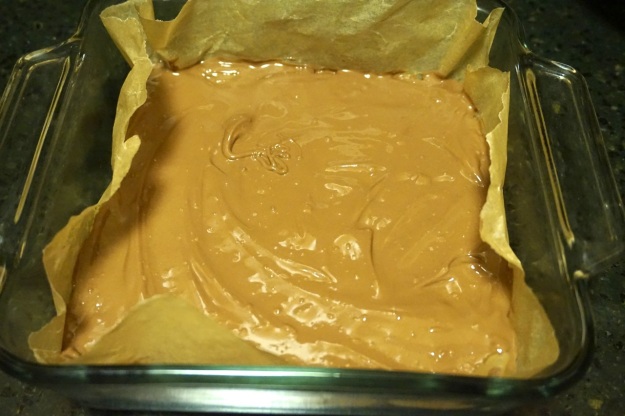
Chocolate glue layer.

Chocolate glue layer.

I went with 240 grams. Why 240? I used a very complex scientific principle called… eyeballing it. (Super extra bonus points if you get the reference.) That recipe needed 1/4 cup of chocolate for gluing it down, so I figured I needed 1/4 cup extra. I looked at how much chocolate might fit into 1/4 cup and I weighed it.

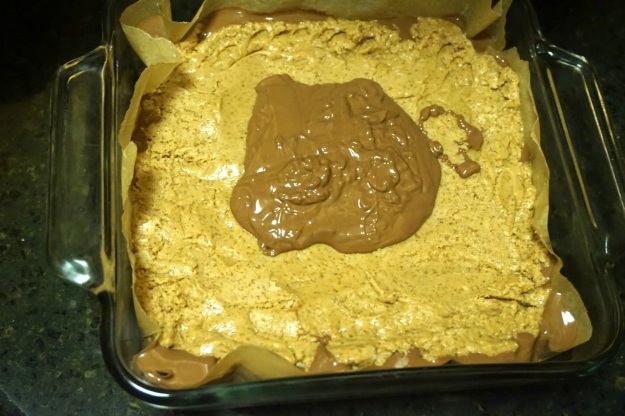
Peanut butter layer with the start of the top chocolate layer

Peanut butter layer with the start of the top chocolate layer.

Then I melted the chocolate as per usual. I ended up spreading about 2-3 tbsps of the melted chocolate on top of the shortbread as the glue. Then I spread the peanut butter on top, partially using utensils, partially using my hands. The other recipe called for refrigerating it after adding the chocolate glue layer, but before adding the peanut butter layer. I didn’t do that. I just added the peanut butter right away. So some of the chocolate oozed up a bit from underneath. I wouldn’t know till later if it stuck properly.

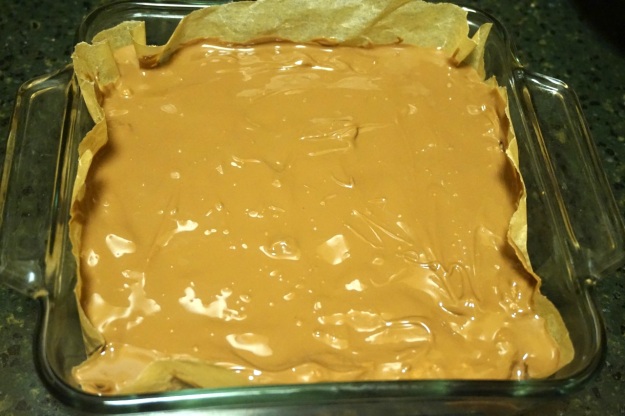
Top chocolate layer.

Top chocolate layer.

After I put the peanut butter layer on, I spread the rest of the chocolate on top. I forgot to take a picture after the peanut butter layer, so I took one as I was just starting to put the top chocolate layer on. Then I put it in the fridge overnight, as it was already late.

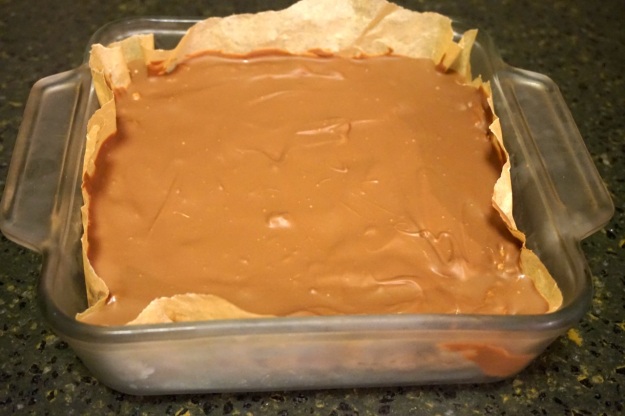
Totally chilled.

Totally chilled.

Overall, it was fairly easy to make. Two thirds of it were the same as the millionaire’s shortbread. And doing the peanut butter instead of the caramel didn’t make it any more challenging.

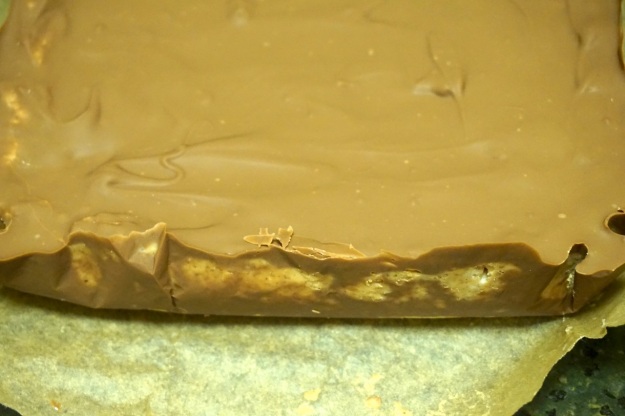
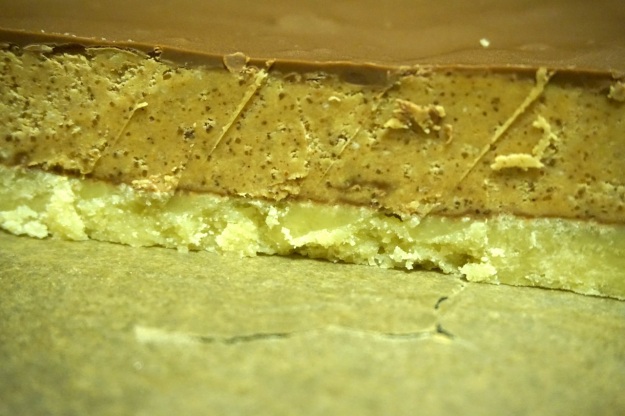
You can see how the bottom chocolate layer oozed up around the side.

You can see how the bottom chocolate layer oozed up around the side.

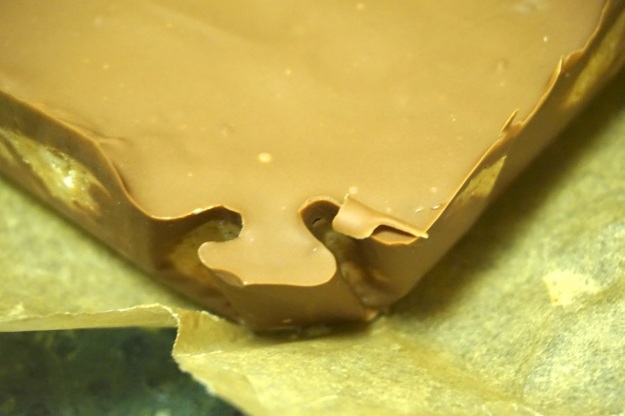
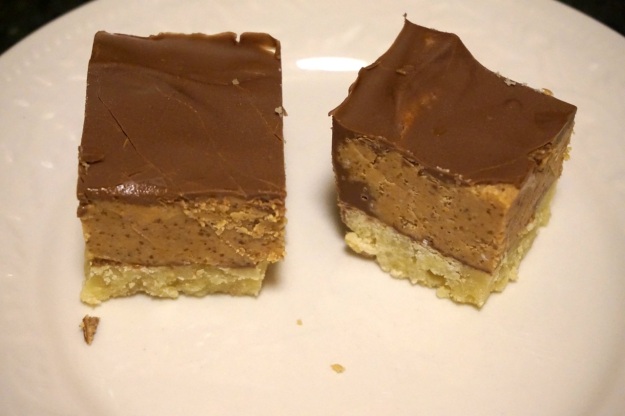
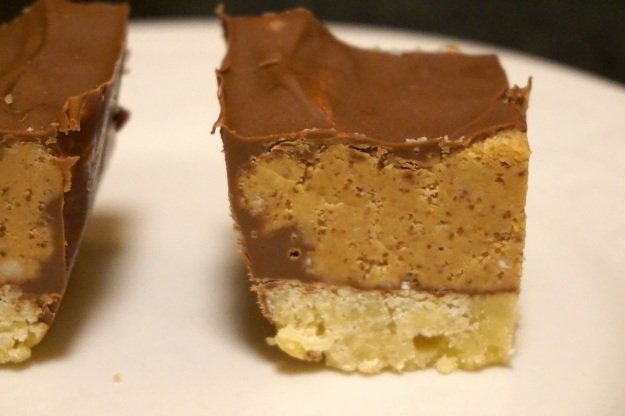
So the next night we tried it. I took it out of the fridge to let it get to room temperature before cutting it. I love the shapes in the corners caused by the bunching up of the parchment paper. When I started cutting it up, I realized that it looks kinda like a candy bar with a big fluffy center. I also noticed that there was a lot of peanut butter filling in comparison to everything else.

One of the cool corner shapes.

One of the cool corner shapes.

And how was it? Well, first of all, it was delicious. And second of all, the peanut butter is the star of the show. In the millionaire’s shortbread it’s complementary, with all three layers working together. But in this one, it’s all about the peanut butter. It overpowered the other layers, to the point where I didn’t taste much of the shortbread or chocolate. It was delicious, but it was basically a vehicle for the peanut butter. And the chocolate seemed to work well as glue, as the whole thing stuck together well.

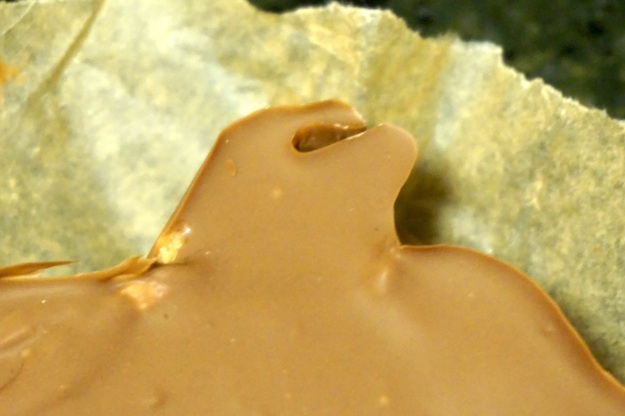
Another one.

Another one.

My wife described it as either a “Reese’s Peanut Butter Cup on steroids” cookie, or as a softer and creamier quadruple decker Reese’s Peanut Butter Cup on top of shortbread.

DSC02299

If I made it again, I would put in less of the peanut butter layer (probably half as much). I would also probably add a little bit more chocolate. I think if it was more evened out, the three layers would work better together. As it is, the other two layers are kinda jealous of the peanut butter, and that’s not good for anyone.

DSC02301

So, I encourage you to try this recipe. The first reason is that it’s delicious, and I’m sure you’ll enjoy it. The second reason is a little more selfish, in that I hope you’ll iron out the kinks. In any case, let me know how it goes. I’d love to hear your results. And if you have frankenstein creations of your own that you want to share, feel free to let me know that, too.

DSC02302

Original millionaire’s shortbread recipe courtesy of Allrecipes.com. My slightly modified version here. Peanut butter filling (and chocolate glue idea) courtesy of Once Upon a Chef.

Gluten-Free Whole Grain Cheese and Mustard Muffins

This week I bring you another recipe from my long-ish running series, “Recipes of Future Past”. This one also happens to be gluten-free, and is near the beginning of my gluten-free baking.

Before we discovered that my wife didn’t get along that well with wheat, I had never considered baking gluten-free. I had heard of it, but there wasn’t any real impetus to do so. Shortly after we found out, I decided that I would try gluten-free baking.

I looked up some gluten-free recipes that looked interesting, and I went out and got a whole bunch of different gluten-free flours. I used them in a couple of recipes, but after that, they mostly just sat there unused. That’s because it got complicated. I found that many gluten-free recipes used specific flours. There are so many different kinds, and everyone uses different ones. So having enough for all of the different recipes would mean stocking many, many different kinds of flour. It just wasn’t practical.

What I soon realized though, is that I didn’t have to go that route. I stumbled upon a really great all-purpose gluten-free flour from Trader Joe’s. At that point, I didn’t need to seek out recipes that were specifically gluten-free. I could use any recipe and just substitute the all-purpose gluten-free flour for the “regular” flour. And with this particular gluten-free flour, it works. No more stocking up on half a dozen different kinds of flour. No more researching recipes specially crafted to be gluten-free. Just one substitution and I’m done. Thank you, Trader Joe’s!

But this recipe was made before I figured all of that out. IIRC, I went out and found some millet. It was not a grain I was familiar with, but hey, why not. I don’t remember what gluten-free all-purpose flour I used for this, as I believe it predated my using Trader Joe’s gluten-free flour. My guess is that it was probably Bob’s Red Mill, as that’s the brand I generally find when I’m looking for alternative flours. I did not use the optional walnuts.

I enjoy mustard, and I enjoy cheese, so I figured this would be a good gluten-free recipe to try. And as I recall, it was. I remember them being decent muffins. The only caveat is that between the cornmeal and the millet, I believe they were a little grainy.

It was a while back that I made them, so I don’t remember them all that well at this point. I would have to try making them again in order to have more to share. But given that I would have to get millet specifically in order to make them means I’m not all that likely to do so, unless I can find a reasonable substitute. If that happens, I’ll be sure to let you know.

I should also mention that around the time I made these, I also made another set of muffins that I found at the same time from the same source: Gluten-Free Banana Chocolate Muffins. As I’m constantly expanding the Recipes of Future Past section, you will probably hear about these sooner or later.

If you happen to make these, let me know how they go. I’d love to hear. And if you have any other gluten-free recipes, or recipes that you’ve successfully gluten-freeified, feel free to share. I’d love to hear about those, too.

20130210_213227

Recipe courtesy of The New York Times.

Zucchini and Ricotta Galette

This week we take on something different. I know you’re used to seeing lots of desserts here at Needs Baked HQ. This week’s recipe is not sweet, but it’s still delicious. A tart for dinner, you say? A delicious crust wrapped around cheese and vegetables, you say? Yes, I say!

DSC02239

So what is this galette thing anyway, you might be wondering. Yeah, I was wondering, too. It can be a lot of different things, but this one, as many of them are, is like a tart. But it’s a tart without a tart pan. (See here for more info.) You might notice there’s now a new category on the site called tarts, so I think you can safely assume that there will eventually be more to come.

DSC02240

So why this galette? One night last weekend we were trying to figure out what to make for dinner. I remembered that I had a leftover pie crust from making the chess pie. So we discussed using that and making some sort of vegetable tart. We looked to see what vegetables we had handy and found that zucchini was our best option. So I did a little poking around on smitten kitchen, which always has great recipes, and I found this one which used zucchini.

DSC02241

Since I was using the leftover pie crust I had, I didn’t use the crust mentioned in the recipe. It’s also from smitten kitchen, but it’s slightly different than the one in the recipe: a little bit of sugar, no sour cream, no lemon juice. After we settled on making this, I took the dough out of the freezer and put it in the fridge so it could defrost but still stay chilled as the recipe required. By the time I got started it hadn’t quite defrosted, so I took it out of the fridge to defrost the rest of the way.

DSC02244

As far as the rest of the ingredients went, we didn’t actually have two zucchinis, we had one zucchini and one squash, but we figured they would play nice together. I used some pre-minced garlic we had, which was super easy. We actually had to go out and get all the cheeses. But, since we went for a nice afternoon walk through the neighborhood anyway, we just stopped and picked up the cheeses on the way home. We also got some sausages to have with it. I didn’t get any fresh basil, I just used dried basil which we already had.

DSC02245

I didn’t do an egg wash. As you may know, I generally don’t have eggs around and I didn’t want to get any just for this. I remembered doing a cream wash before, but I didn’t have any cream either. I figured butter might be close, so I melted some butter for a butter wash.

DSC02246

My wife cut up the zucchini and squash, salted it, and let it drain. (Thanks hon!) I blotted it dry and put it into a bowl to make space on the counter. I then mixed the olive oil and garlic, followed by mixing the cheese mixture.

DSC02248

By this point, the dough had been defrosting for a while, so I figured it was ready. I took it out of the plastic wrap it was in and started rolling it out. It was hard to work with. It was still a little frozen, or at least really cold, as it wasn’t really malleable. After working with it for a few minutes it finally started behaving, but by that point it had absorbed a lot of flour, which I had needed to use to keep rolling it out. (I probably should have just let it sit some more, but the evening was moving forward with it or without it, and I figured the evening would go better if we actually had something for dinner.) I rolled it out on my pastry mat which has all the sizes right on it, making it easy to measure.

DSC02253

I covered a baking sheet in parchment paper, and I carefully moved the dough onto it. It was a little messy, and the dough was a little weak in places, but I got it moved. I spread out the cheese mixture, arranged the zucchini and squash, and drizzled the garlic/olive oil mixture on top. Then I folded up the dough. I melted a little butter, mixed it with some water, and used it as a wash over the dough.

DSC02255

I baked it for 30 minutes, but it seemed like it needed a few more, so I baked it for 5 more. The dough didn’t look quite as brown as in the pictures with the recipe. However, I did use a different dough and a different wash, so those probably made the difference. Also, the zucchini/squash juices were kinda everywhere. I don’t know if I should’ve patted the vegetables dry again right before I used them. I also don’t know if the dough being a little weak in places is why it oozed out. I blotted the top of it with a paper towel and wiped up around the sides. Then I sprinkled on some dried basil and carefully slid it onto a dish for serving.

DSC02257

It looked fantastic and it smelled great too. I felt very European. And I have to say, it was delicious. Yummy vegetables, yummy cheeses, yummy dough. I was worried that the pie dough might be a little sweet, but it wasn’t. It all worked together perfectly. And the sausages were a great choice to go with it. My only real complaint was that at some point it was gone. 🙂 My wife said it was delightful, and she wished we could have one every week. She also described it as “what pizza wants to grow up to be.”

DSC02269

DSC02270

While I don’t know if we’ll have one every week, I would totally make one again. It was fairly straightforward, very delicious, and a great answer to the eternal question of “What’s for dinner?”. It also made me want to bake more for dinner. How about you? Do you have any favorite dinnery dishes? Any savory servings to share?

DSC02272

Dough recipe courtesy of smitten kitchen. Galette recipe also courtesy of smitten kitchen.

Skillet Biscuit Bread

I have a huge list of recipes that are on my “to do” list. You have one of those, right? As I’m browsing the web, I come across tons of interesting looking recipes, and I add them to a list. I like to think that I’ll get to them soon, but given the number of recipes I come across and the number of hours in the day, it’s never as soon as I would like.

DSC02222

This one has been on my list for a while, but I should have done it so much sooner, as it’s super quick and easy. Start to finish, it wasn’t much more than 20 minutes.

DSC02223

I usually do pictures of the ingredients in every post. And while they aren’t always the most interesting pictures of the bunch, I like this particular one for two reasons. One, because it reminds me that from simple ingredients come great things. And two, for the little detail you might have noticed. There’s baking soda in the picture. However, the recipe called for baking powder. Thankfully, in between photographing it and using it, I realized that I had grabbed the wrong thing. Phew.

Dough just added.

Dough just added.

As I mentioned, this was very easy to make. I mixed all of the ingredients together. I had one minor mistake. I had read through the instructions a little while ago, but I hadn’t read all the way through on the night I was making it. I forgot that the extra few tablespoons of water were for once it was in the pan. I added that extra water to the dough by mistake, but it was still okay.

Ready to flip.

Ready to flip.

I used our cast-iron skillet to make it. If you don’t know anything about cast-iron skillets, you should check them out. They are the definition of old school, and they are nonstick the old-fashioned way. They also last a long time. My mom has one that’s been in the family for generations. When you’re cooking with something like that, you get to remember history and think of all the people who have cooked before you.

Flipped and cooking.

Flipped and cooking the other side.

I love ours. It’s one of the best wedding gifts we got. (You might have noticed some of the other ones, like the KitchenAid and Silpats, which have also been outstanding.) It doesn’t have a cover, so I borrowed one from a similarly sized pan to cover it while cooking.

Fresh from the skillet!

Fresh from the skillet!

It cooked quickly like the recipe said it would. It was fun to watch the oil creep up around it, and to watch and hear the bread bubble, sizzle, and cook. Parts of it got a little charred, so maybe I should have spread the oil around a little better.

DSC02234

And for the million dollar question: how was it? It was nice! I let it sit for a little bit, then cut off some pieces to eat. I tried it with and without butter. It was good either way. It’s simple, yummy bread. Chewy inside, slightly crispy outside. It reminded me a little bit of naan, which is similar in size and shape and is also sometimes slightly charred in places.

DSC02236

I cut up the rest of it to have another time. And a couple of days later, we had a bunch of it for lunch. It made great impromptu sandwiches and faux bruschetta.

All in all it was an easy and tasty recipe, and I would definitely recommend it. It’s a great choice if you need bread really quickly. Do you have any bread recipes that are fast? Or other favorite fast recipes? Let me know in the comments below!

Recipe courtesy of This Week For Dinner.